You can live in a shed.
If you are considering starting a shed to house conversion project, this is the article for you.
A shed to house conversion is becoming increasingly popular as people seek affordable, flexible housing options.
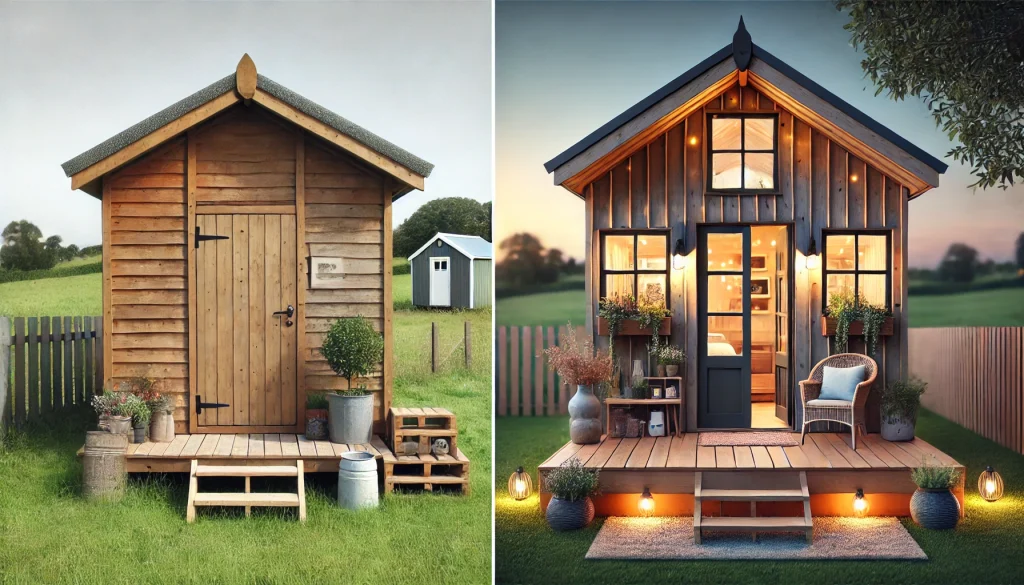
Some are using a shed as the base of a tiny home or ADU.
But where do you start and can you even use a shed for housing on your property?
From assessing your shed’s potential to navigating building codes and designing your dream space, we’ve got you covered.
Converting a shed into a tiny home can cost anywhere from $5,000 to over $60,000.
Factors like shed size, condition, required utilities, and local regulations impact the total cost.
You can have a successful shed-to-house conversion with careful planning and budgeting.
This article covers how to complete a “legit” shed to house conversion, even though there is plenty of proof of those doing it without consulting zoning, HOA rules, or building codes.
- Converting a shed into a tiny home can cost anywhere from $5,000 to over $60,000.
- The cost of a shed to house conversion will depend on the size of the shed, the location of the property, the material used, and the interior finishes.
- Zoning, minimum square foot requirements, building codes, and HOA regulations should all be researched before a project begins.
- You can save money by using reclaimed materials and doing some of the work yourself.
Disclosure: This post may contain affiliate links, meaning I can earn commissions. If you decide to purchase through my links, it is at no cost to you.
What is a Shed to House Conversion
A shed to house conversion involves transforming a shed into a fully functioning, livable dwelling. This process repurposes underutilized space to create a space to live.
This concept is similar to doing a garage conversion for living space.
Tiny home shed conversions have gained popularity in recent years as housing costs continue to rise and people seek innovative solutions for affordable living.
By converting a shed into a tiny house, homeowners can create a unique living environment without the expense and hassle of building a new structure from scratch.
Related Articles 📚
How to Determine if You Can Legally Turn a Shed Into a House
It may not be possible for you to complete this project on your property. Be sure to check before you start.
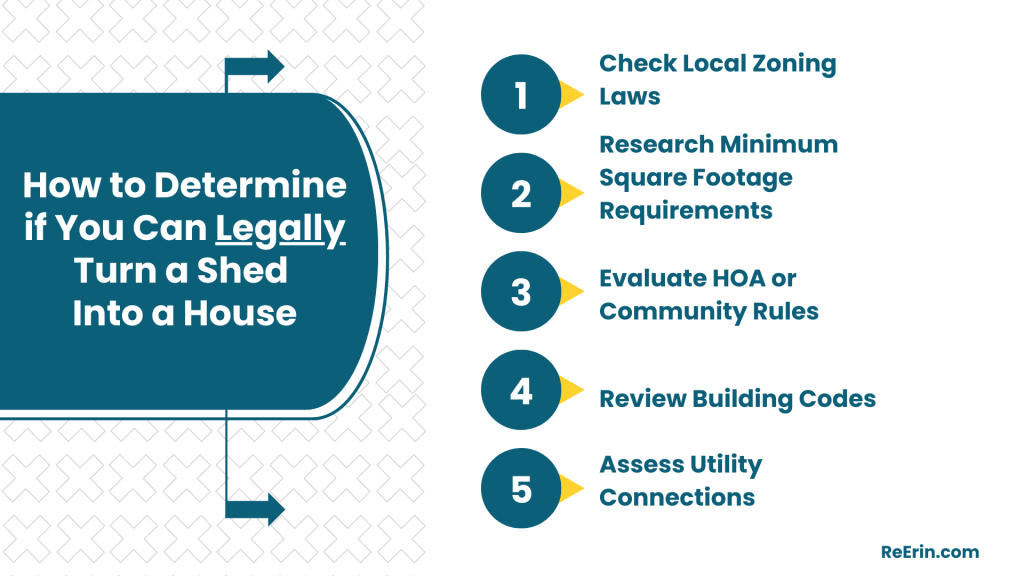
1. Check Local Zoning Laws
Why It Matters: Zoning laws regulate land use and determine if residential structures are allowed on your property. Some areas may restrict shed conversions or require a minimum square footage for homes.
How to Check: Contact your local zoning office or planning department to understand the rules for your property’s zoning classification. They may have a website or it may require a phone call.
2. Research Minimum Square Footage Requirements
Why It Matters: Some areas have minimum size requirements for dwellings to qualify as legal residences.
How to Check: Consult your local zoning office or building department to determine the minimum square footage for homes in your area.
3. Evaluate HOA or Community Rules
Why It Matters: Some homeowners’ associations (HOAs) or neighborhood covenants may have restrictions against shed to home conversions or alternative living structures.
How to Check: Review HOA bylaws or community guidelines to ensure compliance.
4. Review Building Codes
Why It Matters: Building codes ensure structures are safe for habitation. A shed must meet residential building standards, including insulation, structural integrity, electrical, plumbing, and fire safety.
How to Check: Access your local building codes online or consult with a building inspector.
5. Assess Utility Connections
Why It Matters: Residential homes typically require connections to water, sewer, and electricity.
How to Check: Verify whether you can connect the shed to municipal utilities or if alternatives (e.g., composting toilets, solar panels) are permitted.
Related Articles 📚
Factors Affecting the Cost of Converting a Shed To a Tiny House
The cost of converting a shed into a livable space varies widely based on several key factors.
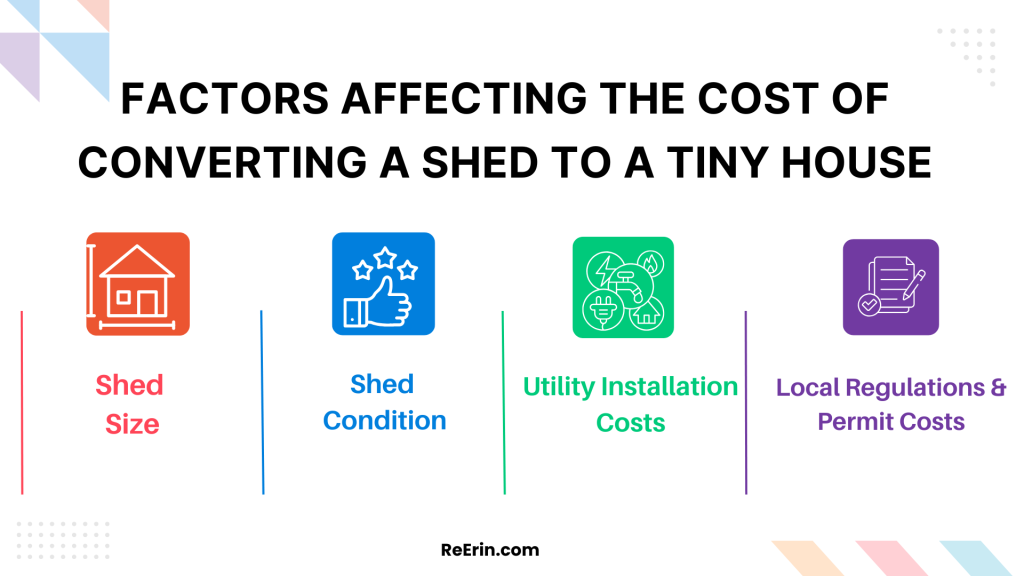
📏 Shed Size
- Larger sheds require more materials and labor, increasing costs.
- Example: A 10×20 shed is more affordable to convert than a 20×40 shed.
🏗️ Shed Condition
- A shed in good shape (solid foundation, sturdy walls) makes for a cheaper, easier conversion.
- If repairs or reinforcements are needed, costs will rise.
💡 Utility Installation Costs
- Plumbing, electrical, and HVAC add to the expense.
- Costs depend on:
- Proximity to existing utility lines (closer = cheaper).
- Local building codes affecting installation requirements.
📜 Local Regulations & Permit Costs
- Building codes & permits vary by location and must be researched before starting.
- Regulations may dictate:
- Minimum size & height requirements.
- Setback restrictions (distance from property lines).
- Skipping permits? Risk fines, legal issues, or even demolition of the converted shed.
- Budget for permit fees to ensure compliance.
Estimated Costs for Different Shed to House Conversion Projects
The total cost of converting a shed into a house can range from a few thousand dollars for a basic conversion to over $60,000 for a high-end project.
- DIY work can significantly reduce expenses.
- Location matters – Extreme climates may require specialty materials, increasing costs.
- Shed size & material finishes play a major role in overall pricing.
In this article, I will focus on shed conversions that range from 8×20 to 16×40. These seem to be where most of the projects seem to fall.
Here’s a breakdown of the estimated costs for different levels of shed-to-house conversions:
$5,000 to $15,000
Features of a Basic Conversion: A budget-friendly setup with essential upgrades, minimal plumbing, and off-grid options.
✔️ Insulation, Drywall & Flooring – Makes the shed habitable with essential finishes.
✔️ Basic Electrical Setup – Includes outlets and lighting but minimal wiring upgrades.
✔️ Simple HVAC – Likely a window unit for heating and cooling.
✔️ Minimal Plumbing – May include a basic sink or outdoor shower (cold water only).
✔️ Off-Grid Options – Some setups use a composting toilet and rainwater catch system for water.
✔️ Budget-Friendly Materials – Savings come from second-hand or repurposed materials.
✔️ Limited Windows – Just enough for light and airflow.
$10,000 to $35,000
Features of a Mid-Range Conversion: A well-equipped shed home with plumbing, electrical upgrades, and a functional layout.
✔️ Standard Plumbing & Electrical – Includes full bathroom and upgraded wiring.
✔️ Kitchenette – Compact cooking area with essential appliances.
✔️ Dedicated Sleeping Space – May include a bedroom or loft for sleeping.
✔️ Mini-Split HVAC – Provides efficient heating and cooling.
✔️ Additional Windows – More natural light and ventilation.
✔️ Laundry Space – Some designs accommodate a washer/dryer setup.
✔️ Balanced Finishes – A mix of basic and higher-end materials where needed.
$30,000 to $60,000+
Features of a High-End Conversion: A luxury-level shed home with full HVAC, a kitchen, a bathroom, and premium finishes.
✔️ Complete HVAC System – Ensures year-round comfort with heating and cooling.
✔️ Full Kitchen – Includes a stove, oven, refrigerator, and ample counter space.
✔️ Bathroom with Shower or Tub – A fully equipped bathroom for maximum convenience.
✔️ High-End Finishes – Think hardwood floors, custom cabinetry, and upscale materials.
✔️ Dedicated Sleeping Space – Whether it’s a separate bedroom or a well-designed sleeping area.
✔️ Full-Size or Apartment-Size Appliances – Provides functionality without sacrificing space.
✔️ Laundry Area – A full-size washer and dryer for added convenience.
shed to house conversion Cost Breakdown
The exact costs will vary depending on factors such as location, shed size, and desired amenities.
Here’s a rough breakdown of the expenses you can expect when converting a shed into a house:
| Category | Cost Estimate |
|---|
| Interior Framing and Insulation | $1,500 – $3,000+ |
| Electrical Work | $1,500 – $4,000+ |
| Plumbing | $1,000 – $3,500+ |
| HVAC System | $2,000 – $4,000+ |
| Interior Finishes (Drywall, Flooring) | $3,000 – $8,000+ |
| Windows and Doors | $1,000 – $2,500+ |
| Permits and Inspections | $500 – $3,500+ |
Note: These are averages and have a lot of variability in them. Material selection, labor cost, and shed size will all factor into these cost estimates.
4 Cost-Saving Strategies for Shed to House Conversions
Here are several strategies to help minimize costs without compromising quality when converting a shed into a house:
1. Opt for a smaller shed 💰
Choosing a smaller shed for conversion can significantly reduce material and labor costs. Sometimes size matters but in well-designed small space can still be functional and comfortable.
2. Do some of the work yourself 💰
If you have the skills and time, tackling some aspects of the conversion yourself can save money. Tasks like painting, installing insulation, or laying flooring can be DIY-friendly.
3. Use reclaimed or salvaged materials 💰
Using reclaimed wood, windows, or doors in the conversion can add character and reduce material costs. This is a time to get creative. Check local salvage yards or online marketplaces for deals. Think outside the box.
4. Prioritize essential features 💰
Focus on the most critical aspects of the conversion, such as insulation, plumbing, and electrical work. Don’t skimp here. Opt for mid-range finishes and appliances that balance cost and quality.
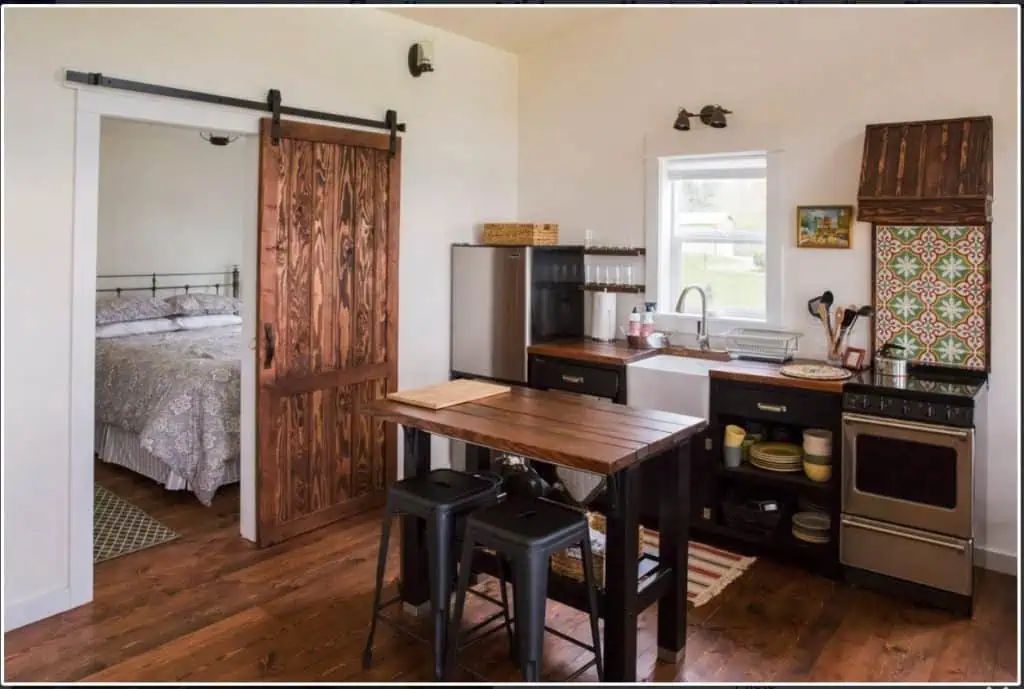
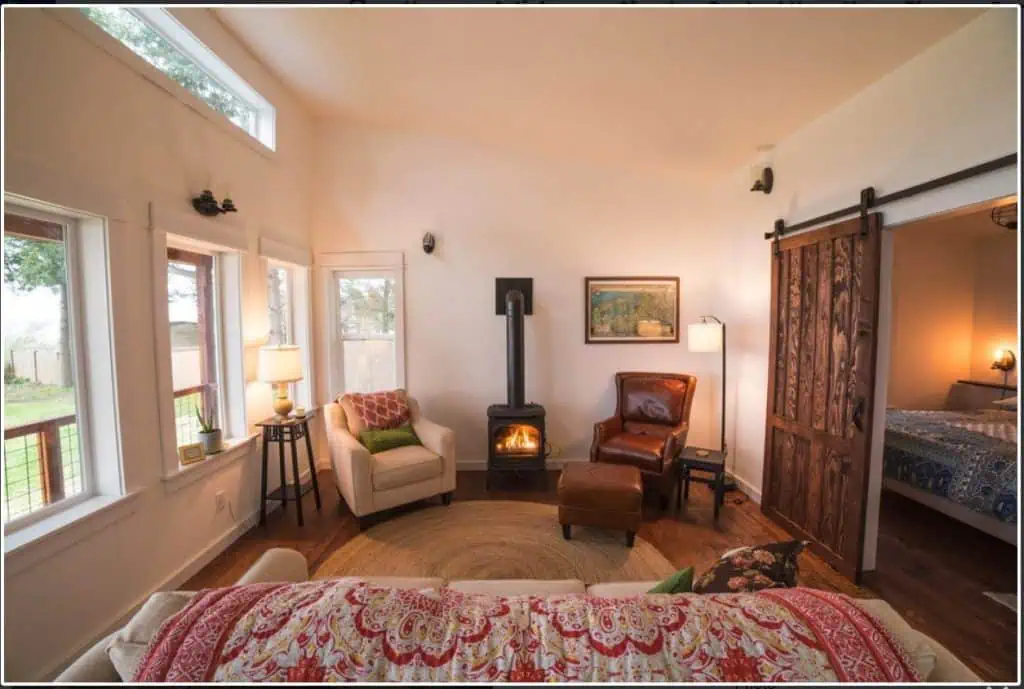
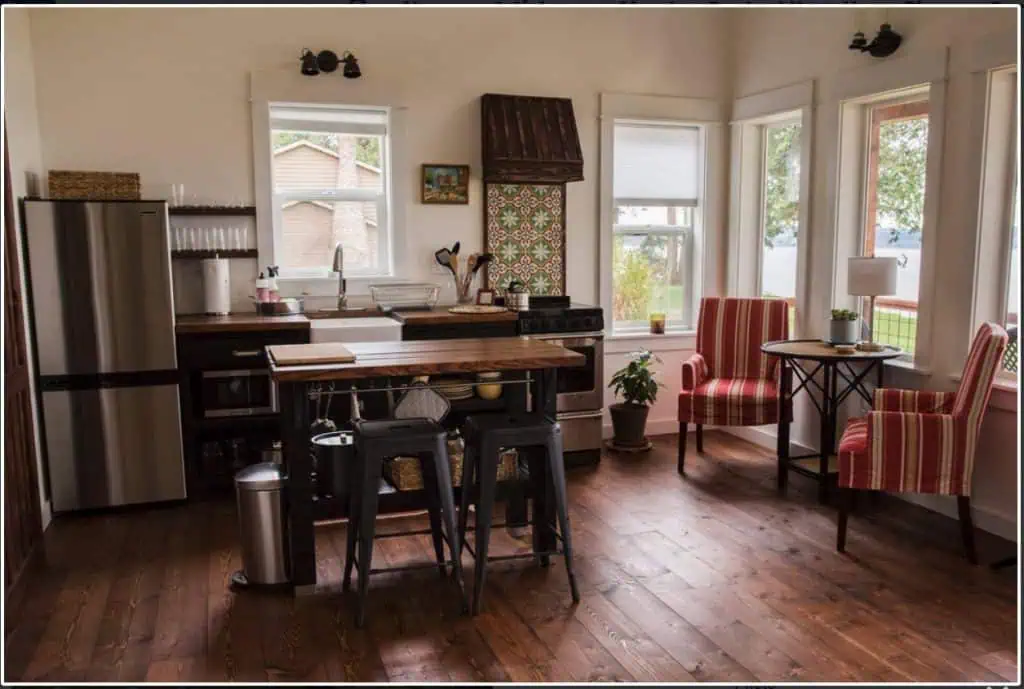
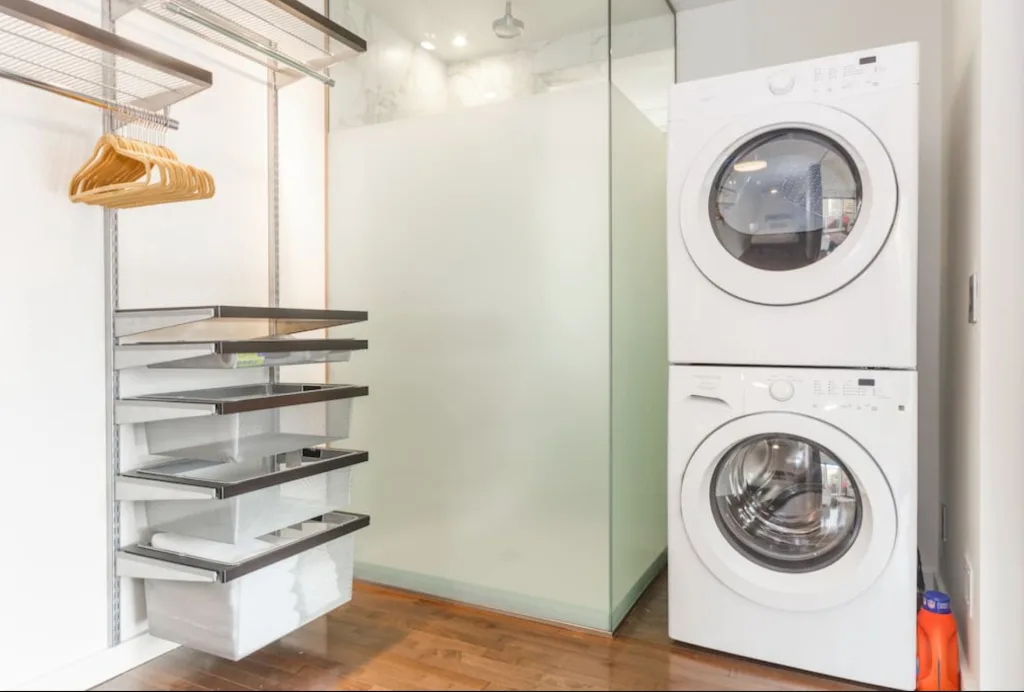
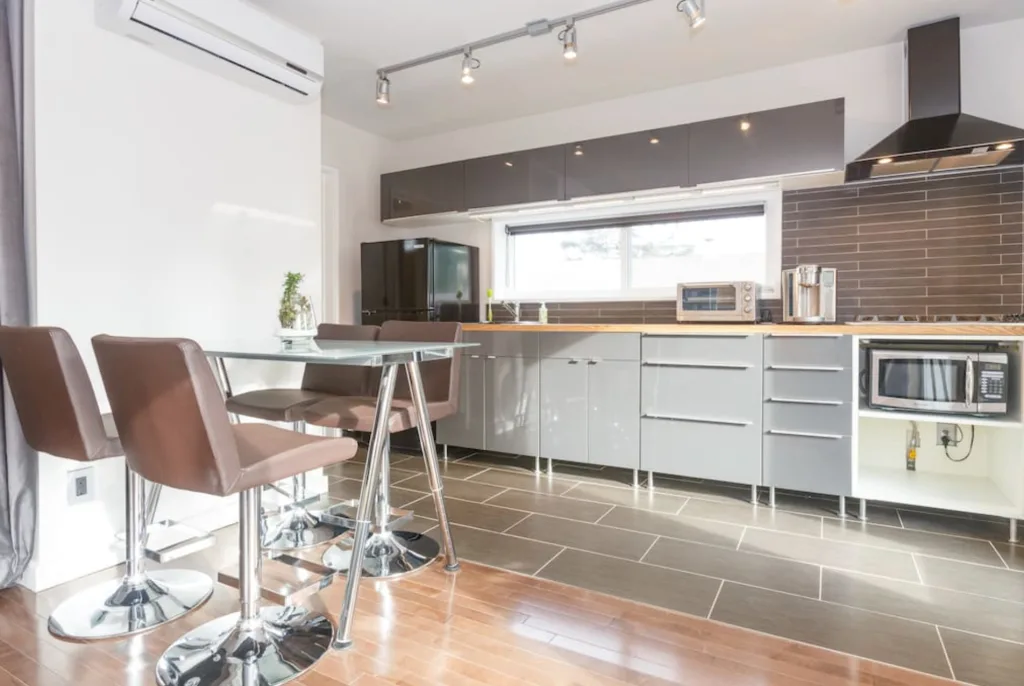
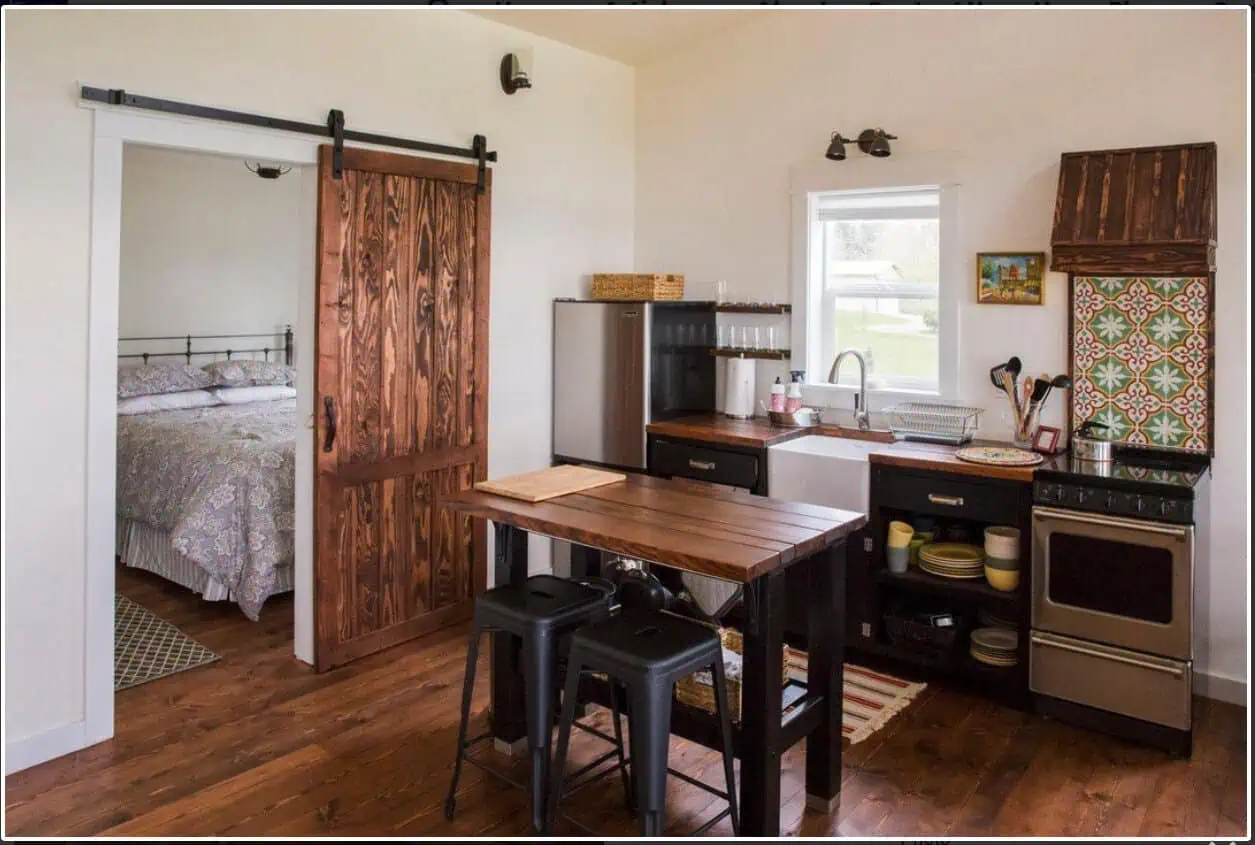
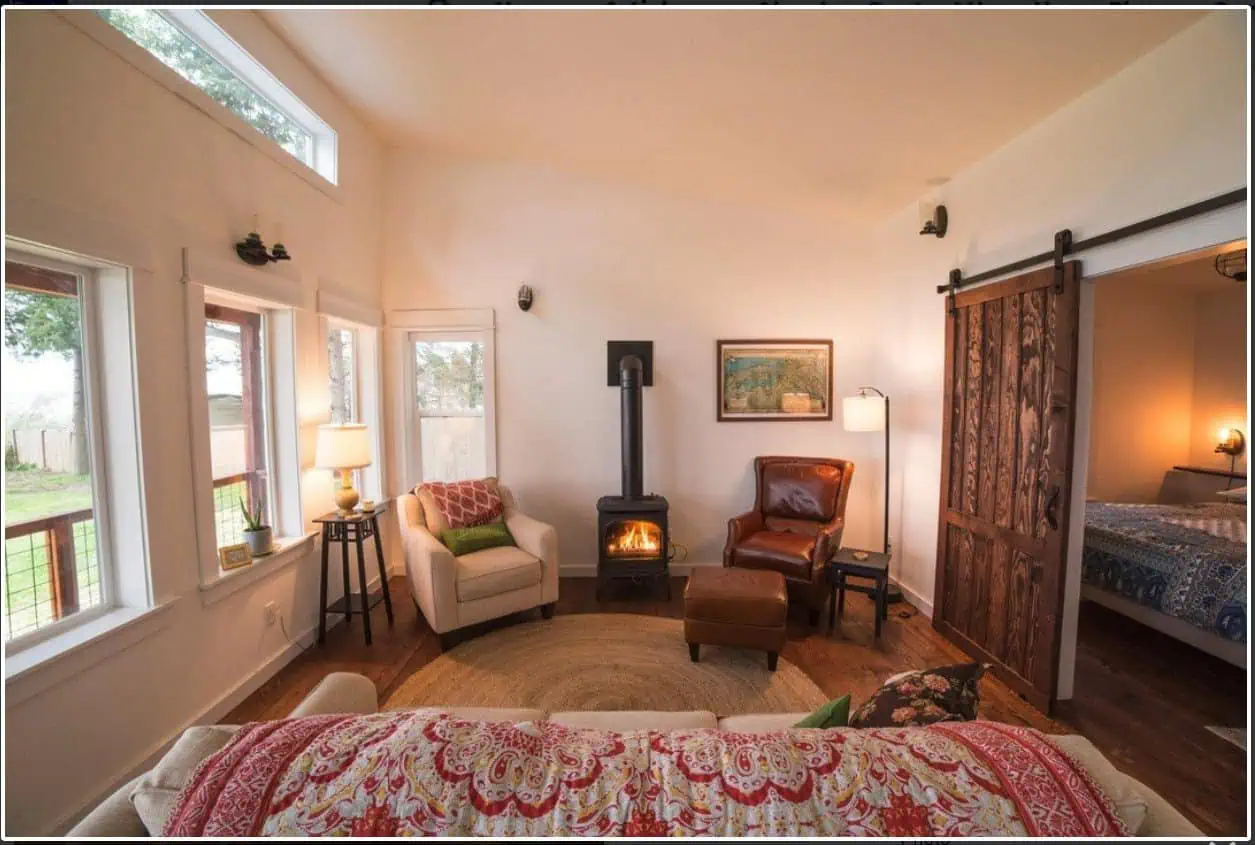
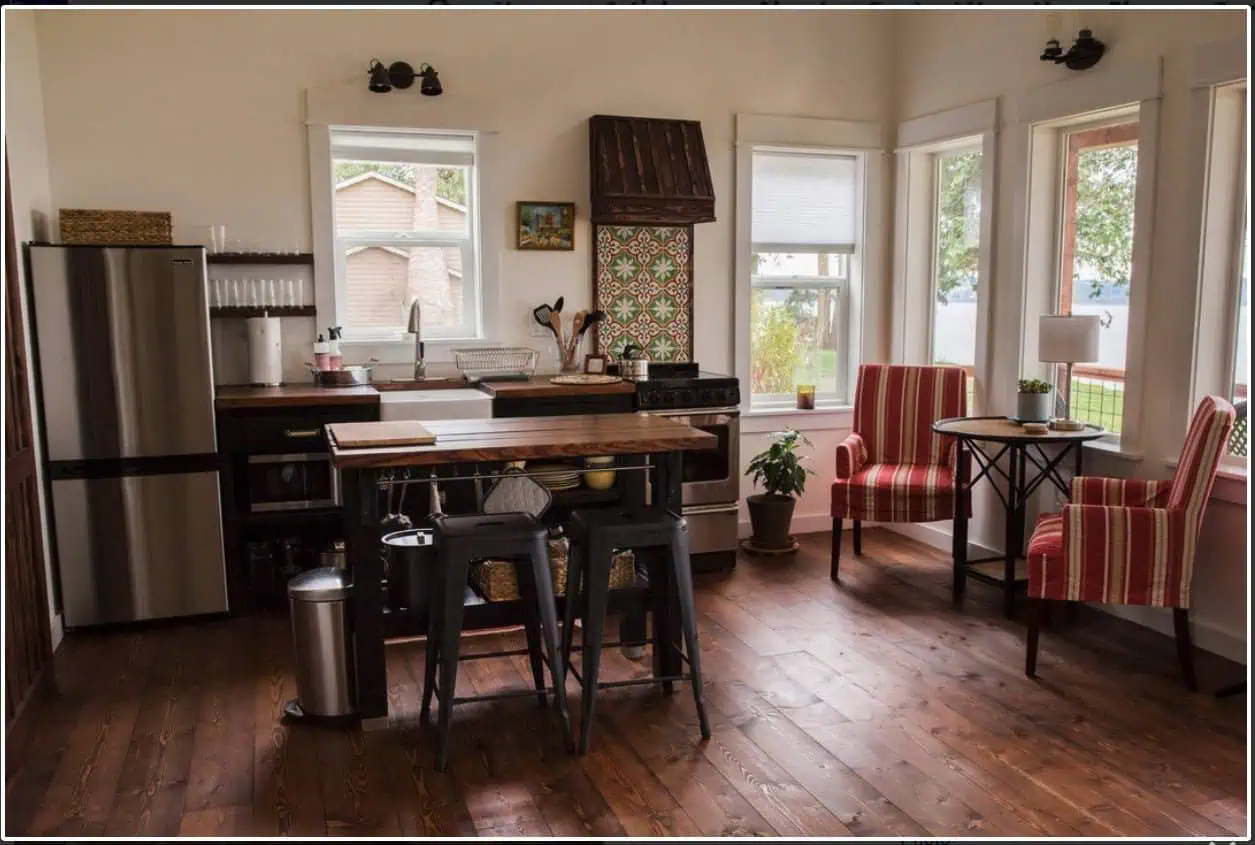
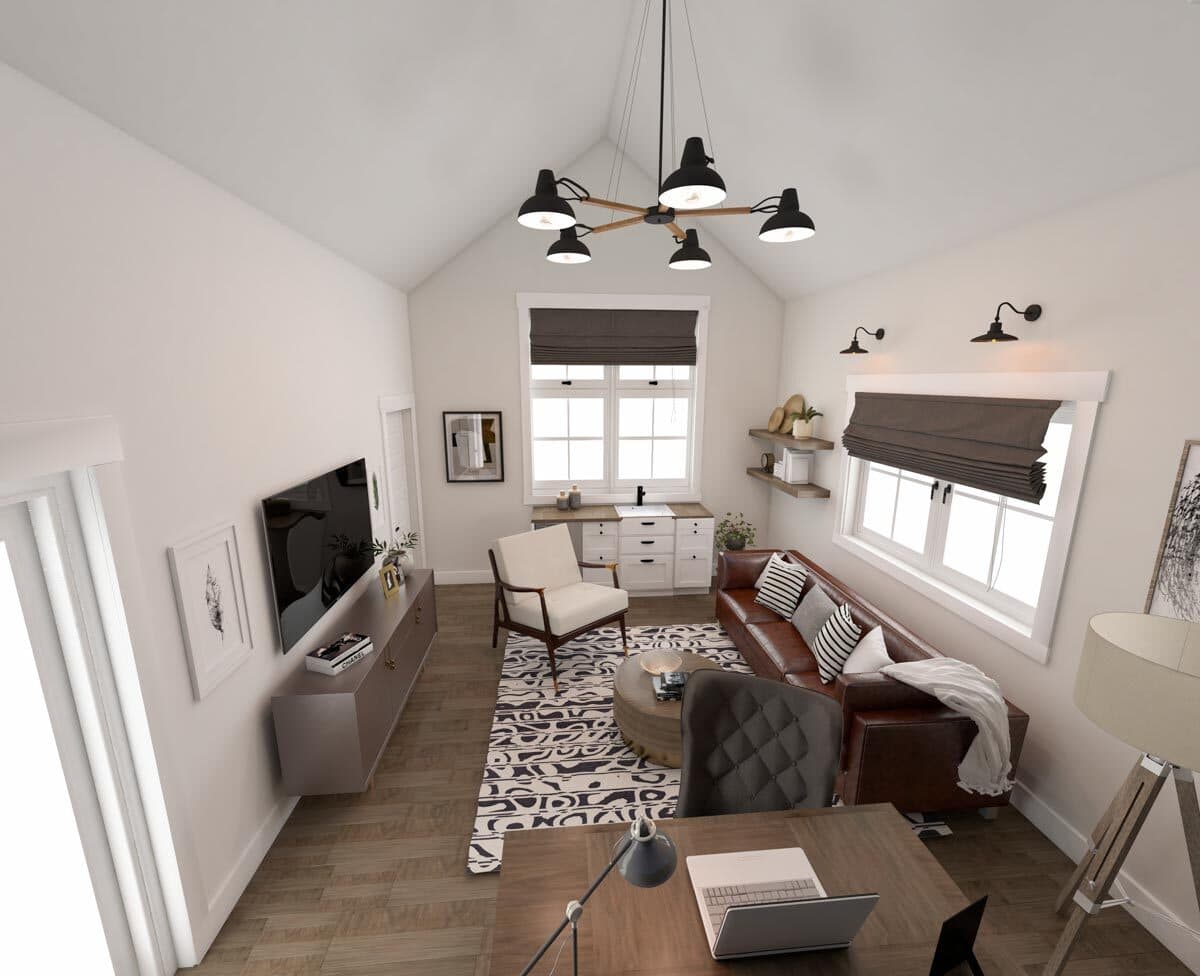
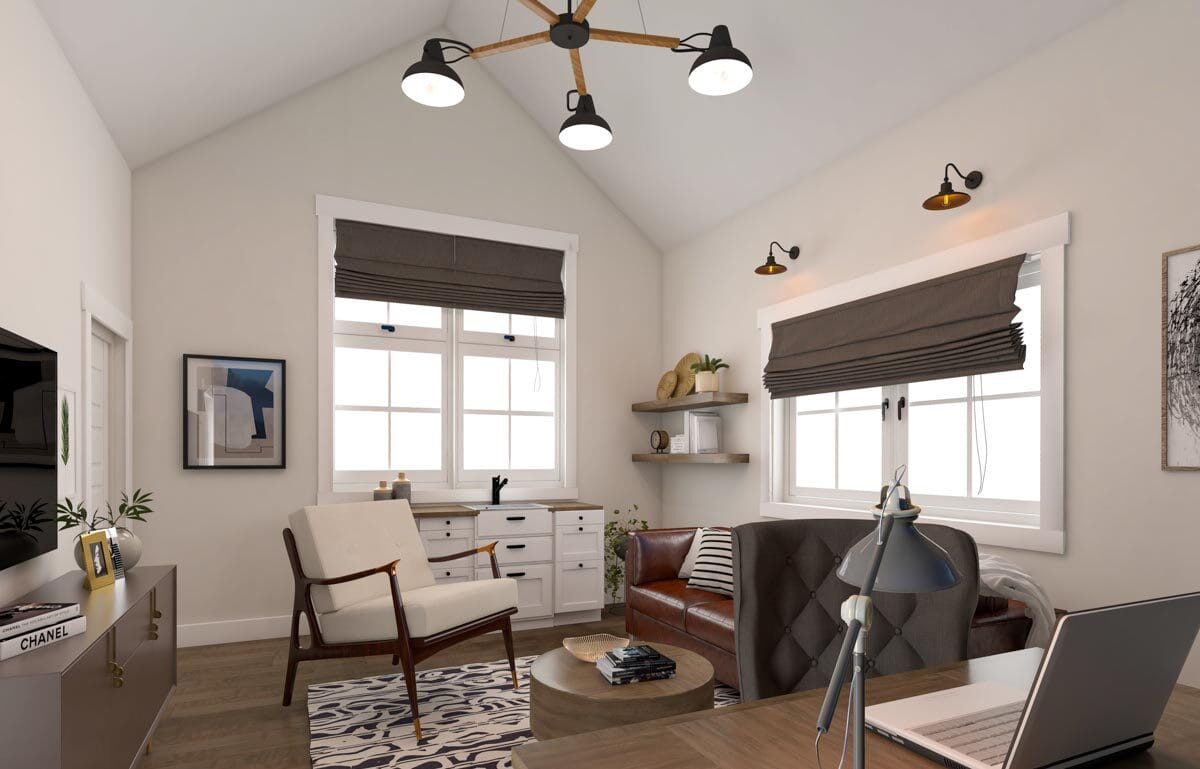
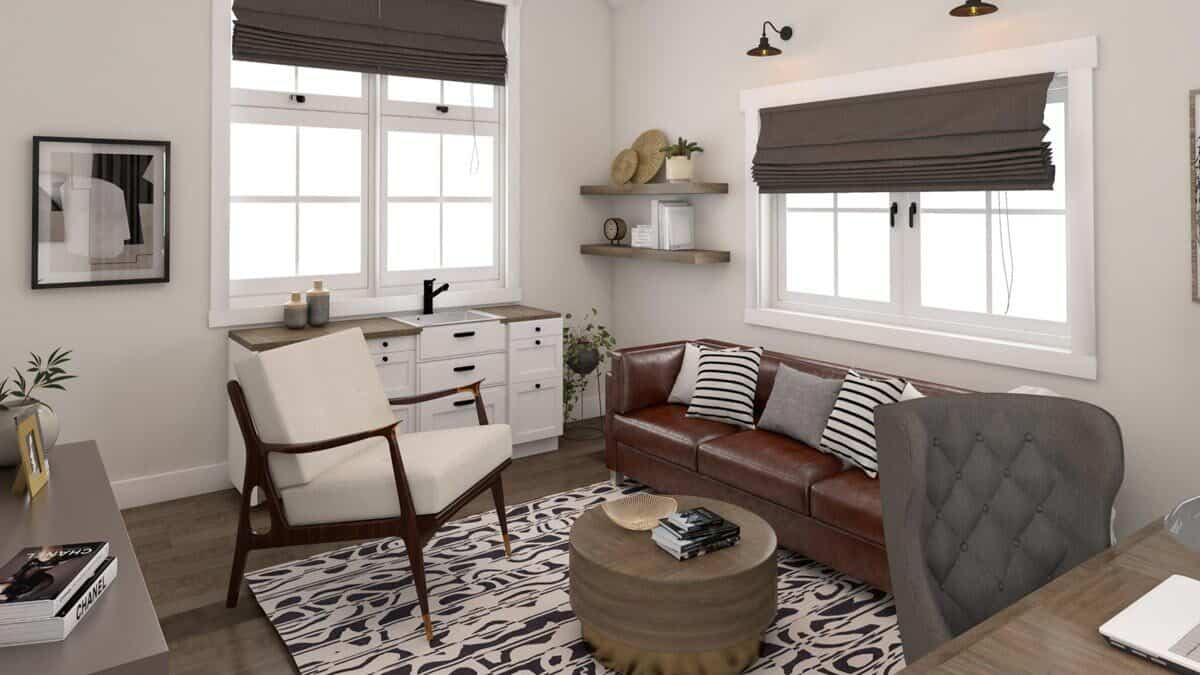
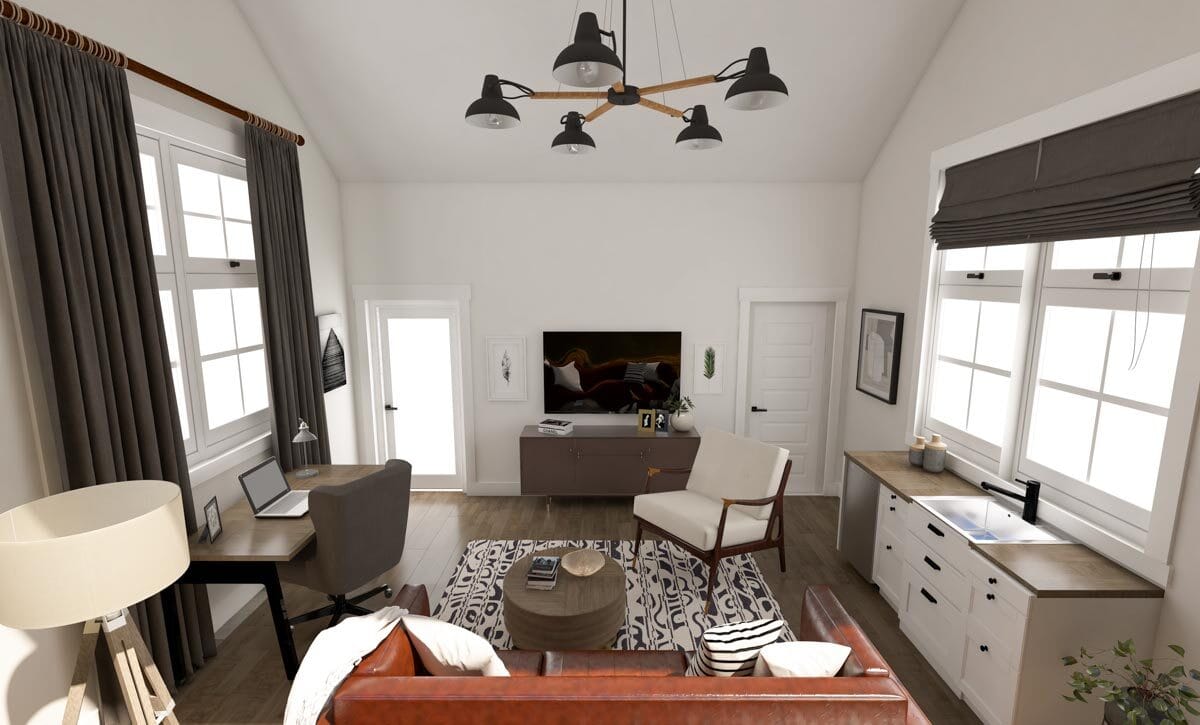
Shed to House Conversion Interior Inspiration
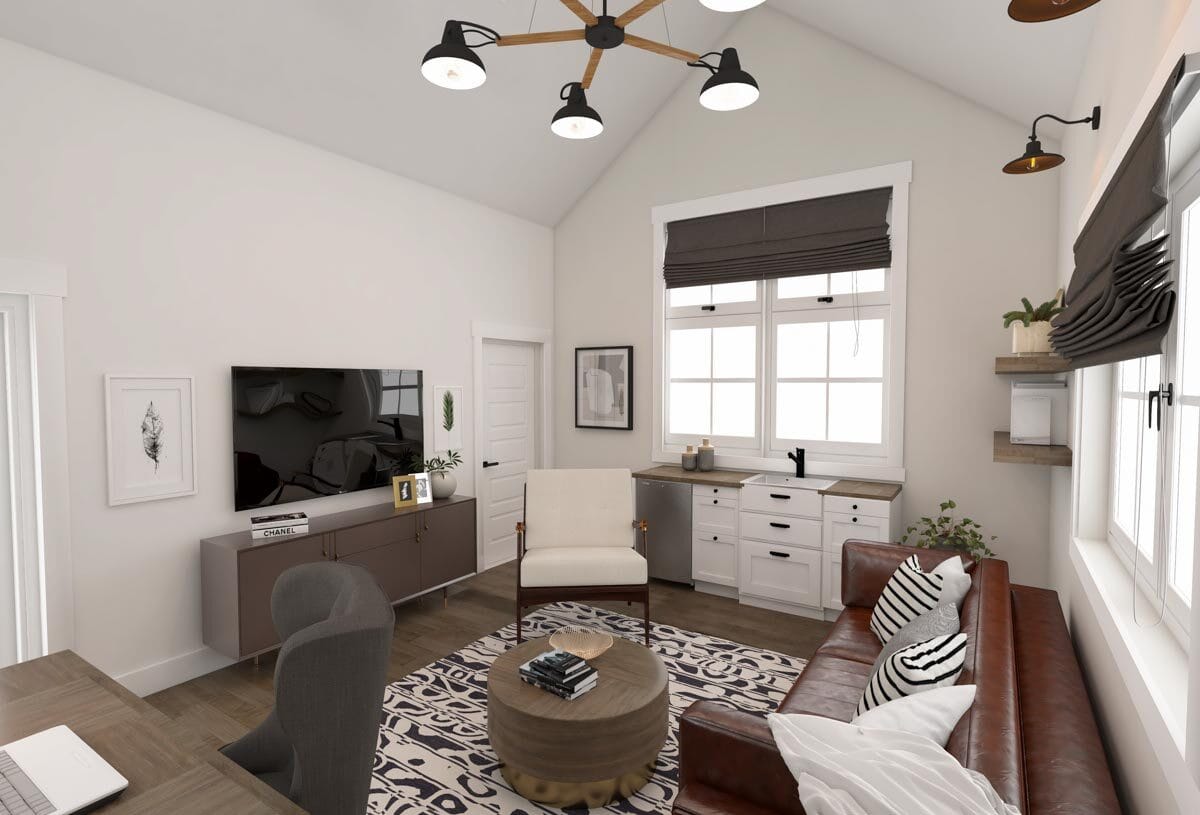
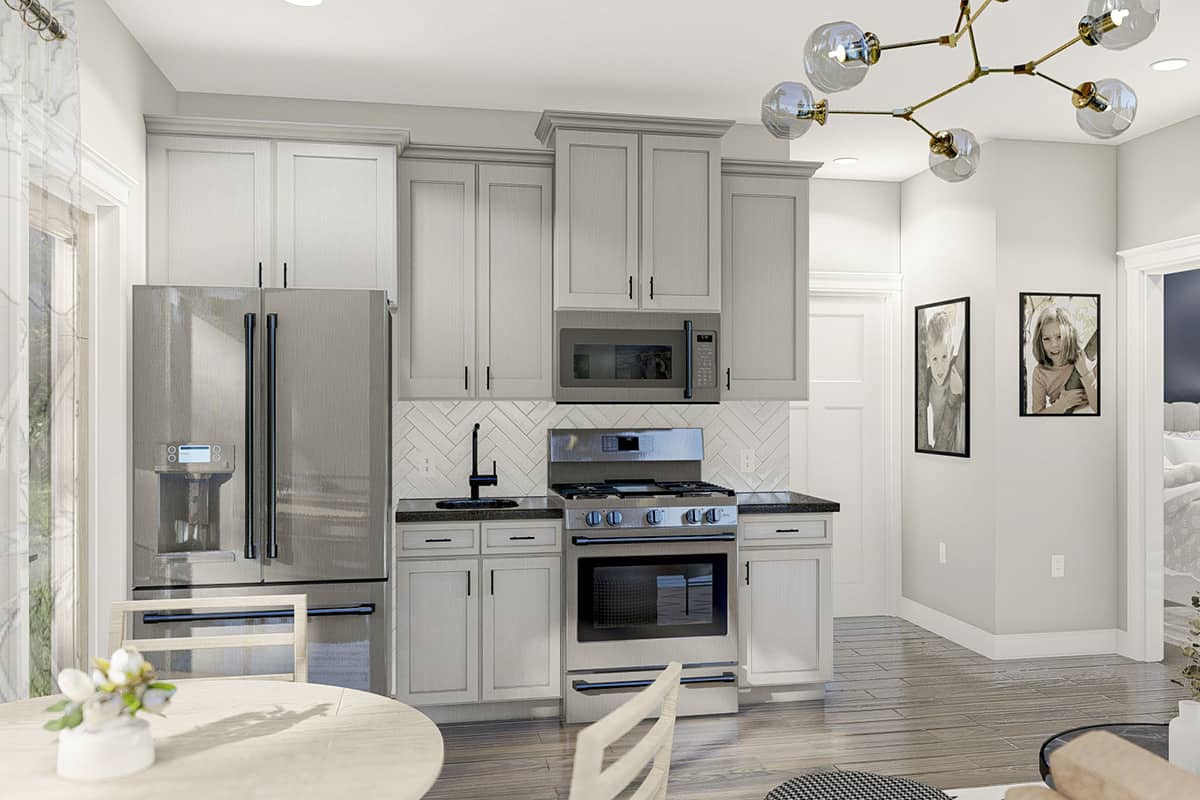
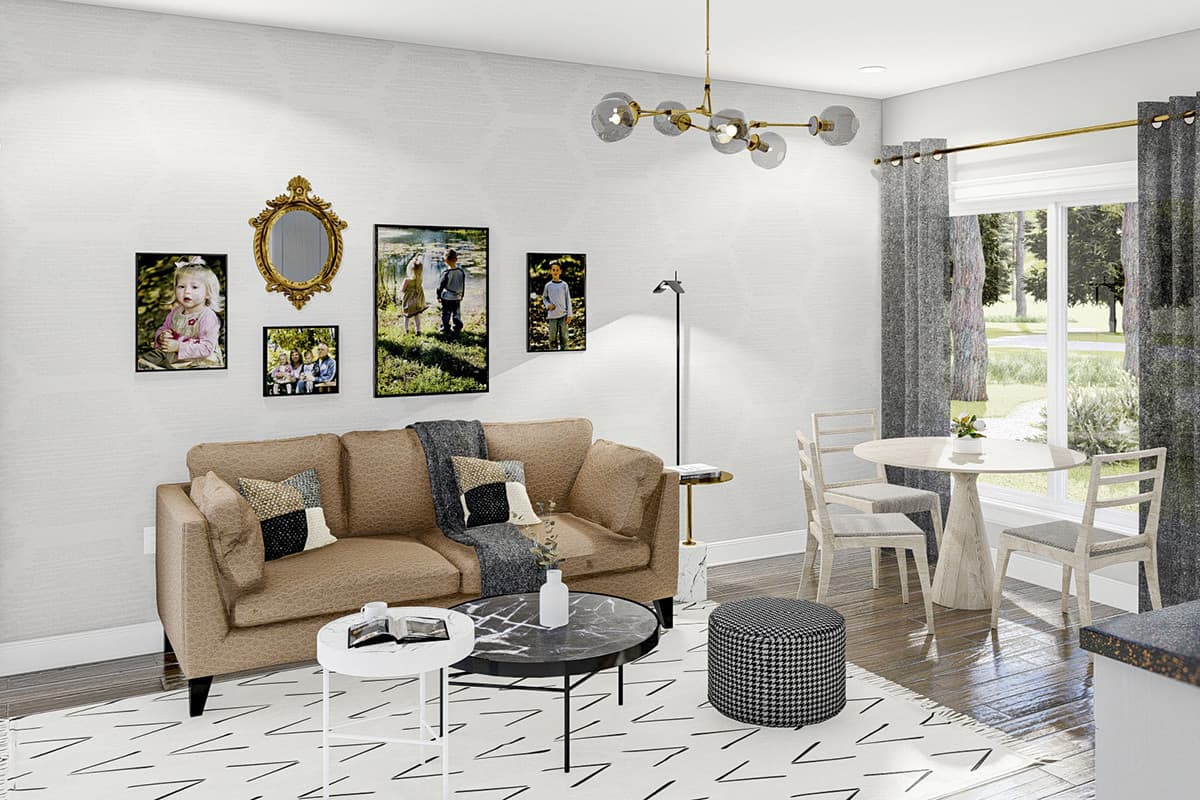
If you cannot picture a shed turned into a space you would want to live, allow me to help you visualize it.
These pictures of sheds turned into homes prove that with a little creativity (and a lot of insulation), even the most unassuming structures can become tiny dream homes!
Step-by-Step Guide to Converting a Shed into a House
Here is a step-by-step guide to ensure the shed to house conversion project correctly meets local building codes and safety standards.

Step 1: Assess the Shed’s Condition and Suitability
Before starting your shed-to-house conversion project, evaluate the shed’s current condition and determine if it’s suitable for living.
➤ Check the shed’s foundation, framing, and roof for any signs of damage, rot, or structural issues.
➤ If the shed is in poor condition, it may require significant repairs or even a complete rebuild, increasing the project’s cost and timeline.
➤ It may be worth buying a new shed instead of attempting to repair an old one.
Step 2: Zoning and Building Codes for Sheds
Next, ensure that the shed meets local zoning and building codes for residential structures.
➤ Contact your local planning department to inquire about any restrictions or requirements for converting a shed into a house.
➤ Factors to consider include the shed’s size, proximity to property lines, and access to utilities.
Step 3: Determining the Shed’s Size and Layout
Assess whether the shed’s size and layout are suitable for living.
➤ Consider the number of rooms, bathroom and kitchen placement, and overall livable space.
➤ A typical tiny house ranges from 150 to 399 square feet.
➤ Search the web for shed layouts and gather ideas on what is possible. Sometimes using chalk or string can help you visualize a layout.
Step 4: Create a Detailed Plan
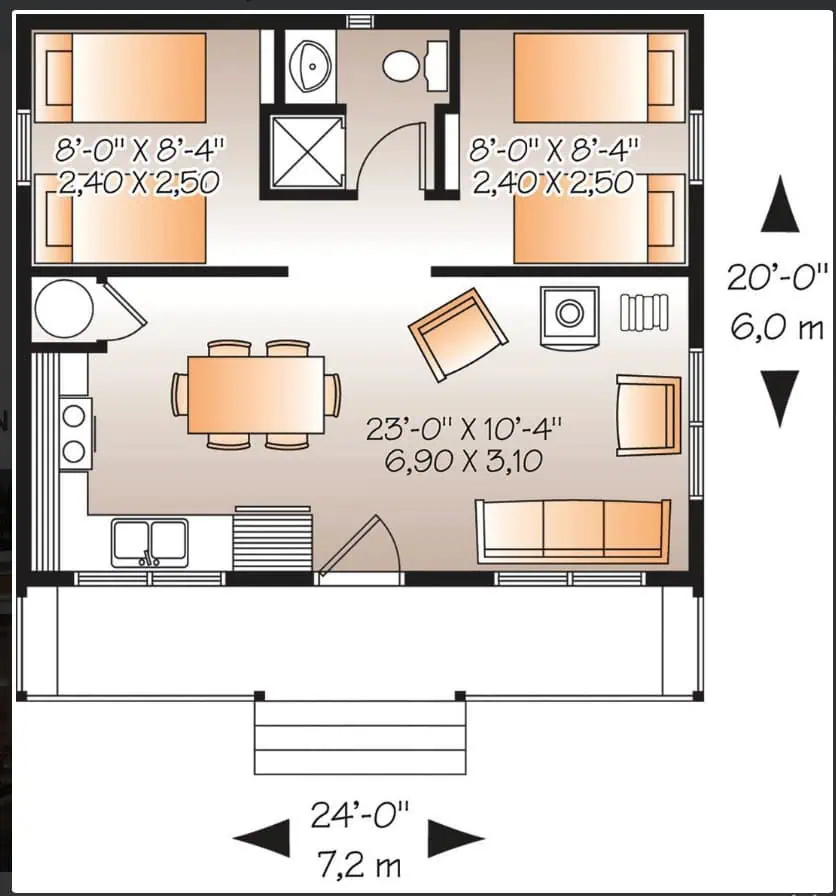
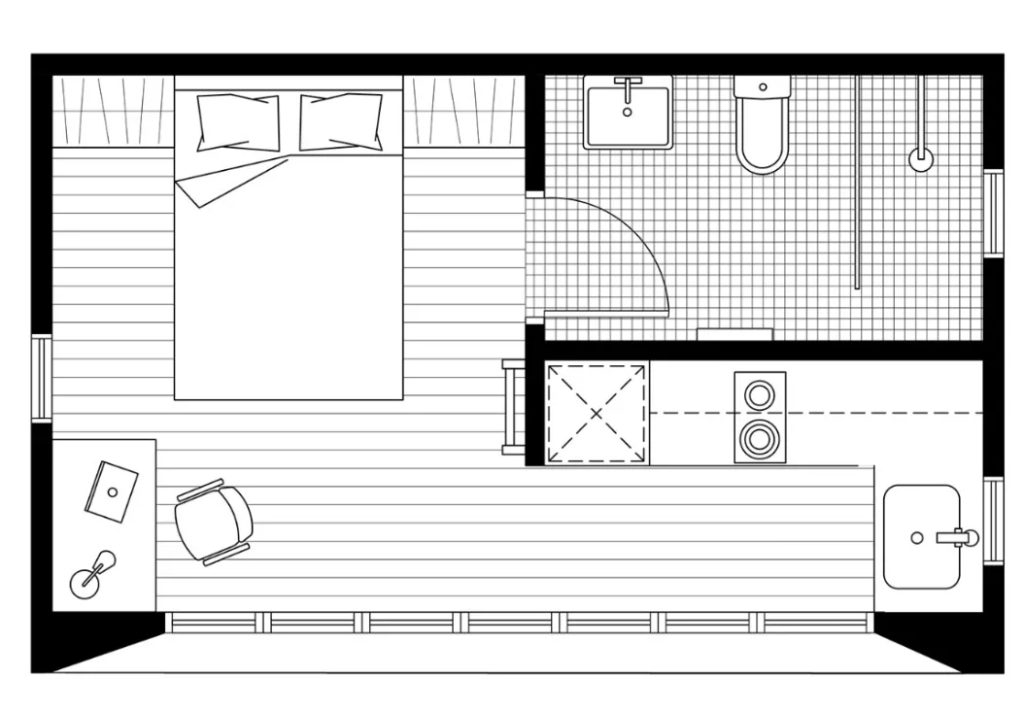
Getting your detailed plan is the next big step. You may want to look at shed to house floor plans for efficient layouts.
➤ Since your space will be small, designing around the functions you need instead of the stereotypical space may be the way to go.
➤ Consult with an architect or designer to develop a floor plan that maximizes the available space and meets your living requirements. They can also help you identify any structural changes or additions needed.
➤ There are lots of floor plans for sheds to explore on the internet.
Step 5: Developing a Timeline and Budget
Create a realistic timeline and budget for your shed-to-house conversion project.
➤ Factor in the time and costs associated with planning, permits, materials, labor, and any unexpected expenses that may arise.
➤ A clear understanding of the project’s scope will help you stay organized and on track throughout the conversion process.
Step 6: Obtain Necessary Permits
Apply for the required building permits and approvals from your local government.
➤ They will want a copy of your plans and a drawing to show where the shed is on the property.
➤ Complete the permit application forms for each trade (building, electrical, plumbing, and HVAC).
➤ Submit your plans and applications to the appropriate departments for review and approval.
➤ Pay any associated fees and wait for the permits to be issued before beginning work.
Step 7: Upgrade the Shed’s Structure and exterior
Upgrading the shed’s structure and utilities is the first step.
➤ If needed, reinforce the foundation and framing to ensure the shed can support the weight of a residential structure. This may involve adding concrete footings, replacing rotted wood, or installing additional support beams.
➤ Things like furniture, appliances, and the materials you put on the interior all add weight. Not to mention people actually living in the structure.
➤ If you need to move heavy construction materials like lumber or concrete blocks, a pallet forks for skid steer can be a valuable tool. These attachments allow for easy lifting and transportation of bulky items, making the shed conversion process more efficient.
➤ Seal all visible cracks, gaps, and corners of the shed to keep air from escaping. This will help block drafts, pests, and water from getting into your tiny house. For best results, use silicone caulk or expanding foam spray—both work well for sealing sheds.
Step 8: Running Plumbing, Electrical, and HVAC Systems
Run water lines and connect them to a septic tank or municipal sewer system, depending on your location.
➤ Install electrical wiring, outlets, and lighting fixtures according to local building codes and safety standards.
➤ Some opt to utilize a composting toilet, rainwater catch system, and solar panels.
➤ If you want year-round comfort, you want to install an HVAC system that provides heating, cooling, and ventilation. Options include mini-split systems, window air conditioners, and electric heaters.
Related Articles 📚
Step 9: Scheduling Required Inspections Throughout the Construction Process
Familiarize yourself with the required inspections for each stage of construction (e.g., foundation, framing, rough-in, and final).
➤ Contact your local building department to schedule inspections at the appropriate times.
➤ Ensure that all work is completed to code before each inspection, and be prepared to make any necessary corrections.
➤ Keep a record of all inspection reports and approvals for future reference.
Step 10: Insulation and drywall
➤ Next, install insulation in the walls, ceiling, and floor to regulate temperature and improve energy efficiency.
➤ Add drywall to create a finished interior look and increase fire resistance.
Step 11: Finish the Interior and Exterior
Finishing the interior and exterior is where it really comes together.
➤ Install windows and doors to provide natural light, ventilation, and access to the outdoors.
➤ Choose energy-efficient options to help reduce your utility costs and improve comfort.
➤ Add siding to the exterior of the shed to protect it from the elements and enhance its appearance. Options include vinyl, fiber cement, or wood siding, each with its own benefits and maintenance requirements.
➤ Choose durable flooring materials, such as laminate, vinyl plank, or engineered wood.
Step 12: Installing Kitchen and Bathroom Fixtures
Install kitchen and bathroom fixtures to make your converted shed fully functional.
➤ In the kitchen, add cabinets, countertops, a sink, and appliances like a refrigerator, stove, and oven.
➤ Ensure proper ventilation and follow local building codes for electrical and plumbing connections.
➤ For the bathroom, install a toilet, sink, shower, or bathtub, along with the necessary plumbing and ventilation.
➤ Consider space-saving options like a corner sink or a combined shower and toilet unit to maximize the limited square footage.
Step 13: Install trim, Painting, Decorating, and Furnishing the Living Space
➤ Finally, install trim to finish out the space. Paint the interior walls, trim, and ceiling to create a fresh and cohesive look.
➤ Choose colors that reflect your personal style and make the space feel larger and more inviting.
➤ Decorate with furniture, artwork, and accessories that fit your needs and preferences, keeping in mind the limited space available in a converted shed.
Step 14: Obtaining a Certificate of Occupancy Upon Completion
➤ Schedule a final inspection once all work is completed and all prior inspections have been passed.
➤ Address any remaining issues or corrections identified during the final inspection.
➤ Submit any required documentation, such as energy efficiency certificates or proof of compliance with fire safety regulations.
➤ Receive your certificate of occupancy, which legally certifies that your converted shed is safe and habitable.
Now it is time to get moved in and enjoy your new shed home!
7 Mistakes to Avoid When Converting a Shed Into a Home
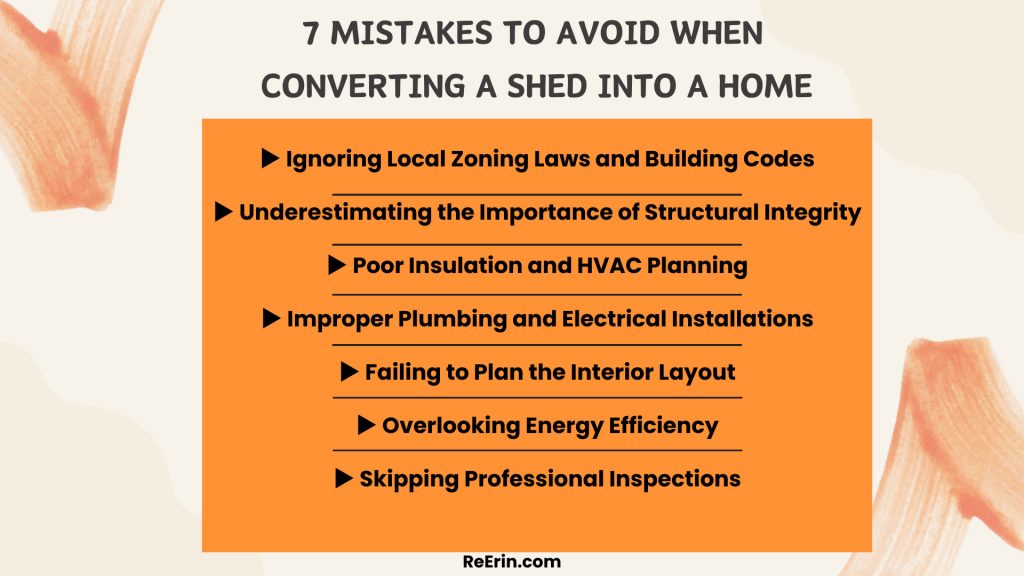
1. Ignoring Local Zoning Laws and Building Codes
- Mistake: Starting the project without researching local regulations.
- Why It’s a Problem: Converting a shed into a home might violate zoning laws or require specific permits, leading to fines or the need to undo your work.
- How to Avoid: Consult your local zoning office, and check building codes for residential conversions.
2. Underestimating the Importance of Structural Integrity
- Mistake: Assuming the existing shed is strong enough for a residential setup.
- Why It’s a Problem: Sheds are often built for storage, not habitation, and may not support insulation, plumbing, or HVAC systems. It may not be structurally able to hold the amount of weight of a living space.
- How to Avoid: Have a professional inspect the shed and reinforce the foundation, walls, or roof as necessary.
3. Poor Insulation and HVAC Planning
- Mistake: Skimping on insulation or not planning for proper heating and cooling.
- Why It’s a Problem: This can lead to uncomfortable indoor temperatures, high energy bills, or moisture problems.
- How to Avoid: Use high-quality insulation materials and ensure the HVAC system is appropriate for the shed’s size and climate.
4. Improper Plumbing and Electrical Installations
- Mistake: DIYing complex plumbing or electrical work without expertise.
- Why It’s a Problem: Faulty installations can cause safety hazards, such as leaks or electrical fires, and may not pass inspections.
- How to Avoid: Hire licensed professionals for these critical installations.
5. Failing to Plan the Interior Layout
- Mistake: Neglecting space optimization or forgetting to include necessary amenities.
- Why It’s a Problem: A poorly planned layout can lead to cramped or inefficient spaces, reducing livability.
- How to Avoid: Create a detailed floor plan to maximize space, ensuring room for sleeping, storage, and functional living areas.
6. Overlooking Energy Efficiency
- Mistake: Not considering energy-efficient windows, doors, or appliances.
- Why It’s a Problem: Higher energy costs and potential discomfort, especially during extreme weather.
- How to Avoid: Install energy-efficient windows and doors, use LED lighting, and opt for ENERGY STAR-rated appliances.
7. Skipping Professional Inspections
- Mistake: Forgoing inspections during and after the conversion process.
- Why It’s a Problem: You might miss structural or safety issues that could lead to costly repairs or unsafe conditions.
- How to Avoid: Schedule inspections at key stages of the project, such as framing, plumbing, and completion.
Considerations When Designing Your Shed-to-House Conversion
Maximizing Natural Light & Ventilation
✅ Install large windows or skylights to brighten the space and reduce artificial lighting needs.
✅ Ensure proper ventilation to maintain air quality and prevent moisture buildup.
✅ Use cross-ventilation by placing windows on opposite walls for better airflow.
Making the Most of Small Spaces
✅ Use built-in storage (shelves, cabinets, hidden compartments) to keep clutter away.
✅ Choose multi-functional furniture like Murphy beds or dining tables that double as desks.
✅ If a dedicated dining area isn’t needed, use a folding table or kitchen counter for meals.
Designing for Energy Efficiency & Sustainability
Insulation & Materials
✅ Use eco-friendly insulation like recycled denim or cellulose for sustainability and efficiency.
✅ Opt for energy-efficient appliances to lower utility bills.
Heating, Cooling & Energy Use
✅ Install a mini-split or ductless heat pump for efficient temperature control.
✅ Consider adding solar panels to generate clean energy and reduce electricity costs.
✅ Use water-efficient plumbing fixtures to minimize water consumption.
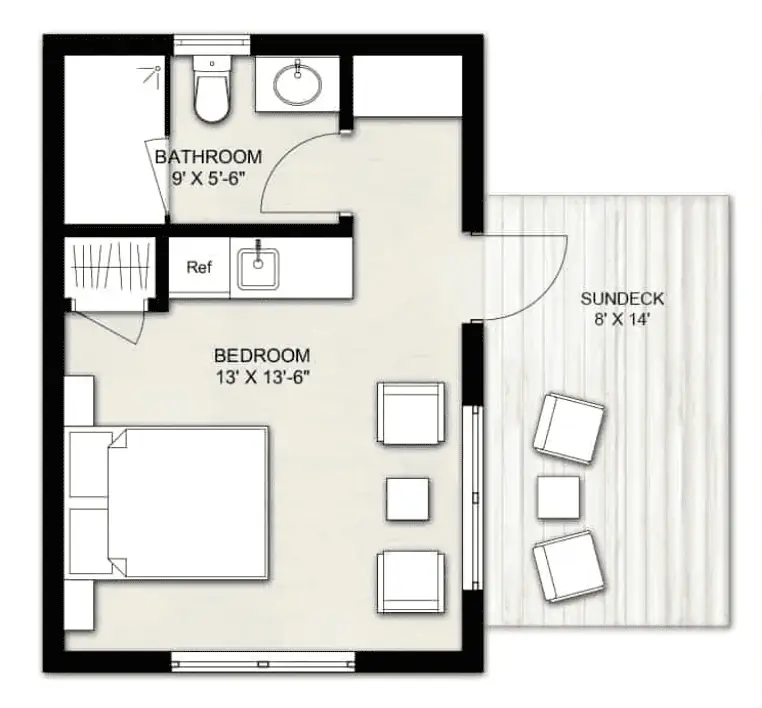
Shed to House Conversion Floor Plans
Is Turning a Shed into a House a Good Idea?
Converting a shed into a livable home can be an excellent option for those looking for a cost-effective, unique living space.
You have to carefully consider the pros and cons before starting a project.
Pros & Cons of Converting a Shed into a Home
✅ Pros:
➕ Lower costs compared to building a new home.
➕ Faster construction timeline, since the basic structure is already in place.
➕ Highly customizable, allowing you to create a one-of-a-kind living space tailored to your needs and preferences.
❌ Cons:
➖ Zoning regulations and building codes may restrict what you can do with your shed conversion.
➖ Permits and inspections are often required, adding extra steps to the process.
➖ Limited space can pose design challenges, requiring compromises on certain amenities or features.
Ultimately, whether turning a shed into a house is a good idea depends on your specific circumstances, budget, and goals.
If you’re willing to navigate the logistical hurdles and get creative with your design, a shed conversion can be a rewarding and cost-effective path to homeownership.
Types of Sheds Suitable for Conversion
Not all sheds are created equal. Some types of sheds are better suited to transform into a home.
Wooden Sheds with Sturdy Framing
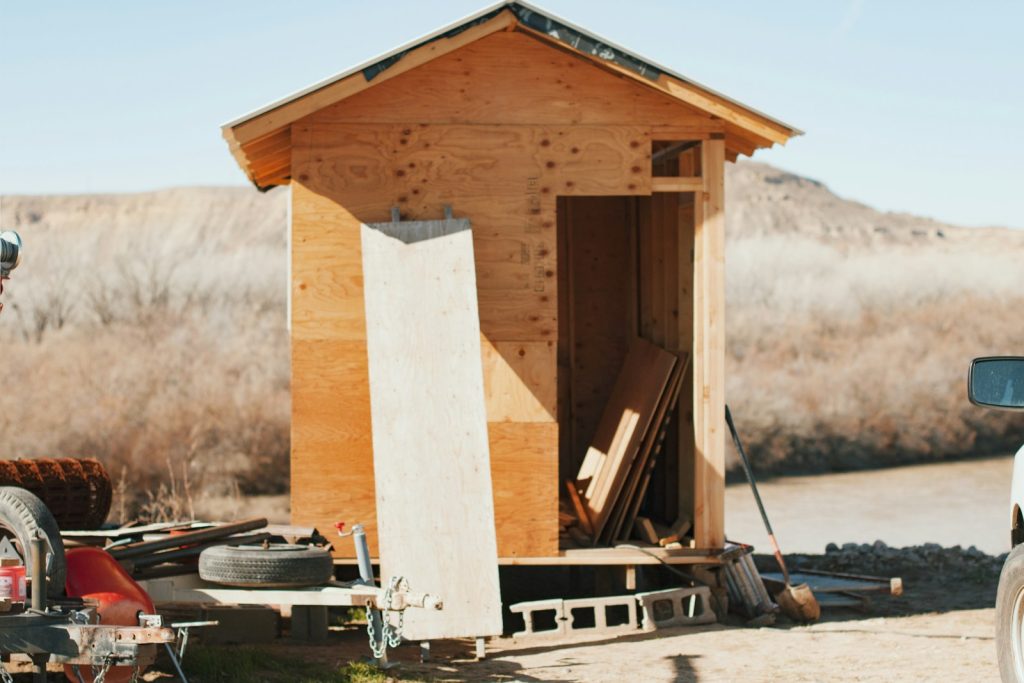
- Best for: Easier conversions with an existing solid frame.
- Advantages:
✔ The existing frame reduces the amount of structural work needed.
✔ Can be easily insulated and modified for comfort. - Considerations:
❗ Check for rot, insect damage, or deterioration that could compromise structural integrity.
Metal Sheds (with Insulation & Drywall Added)
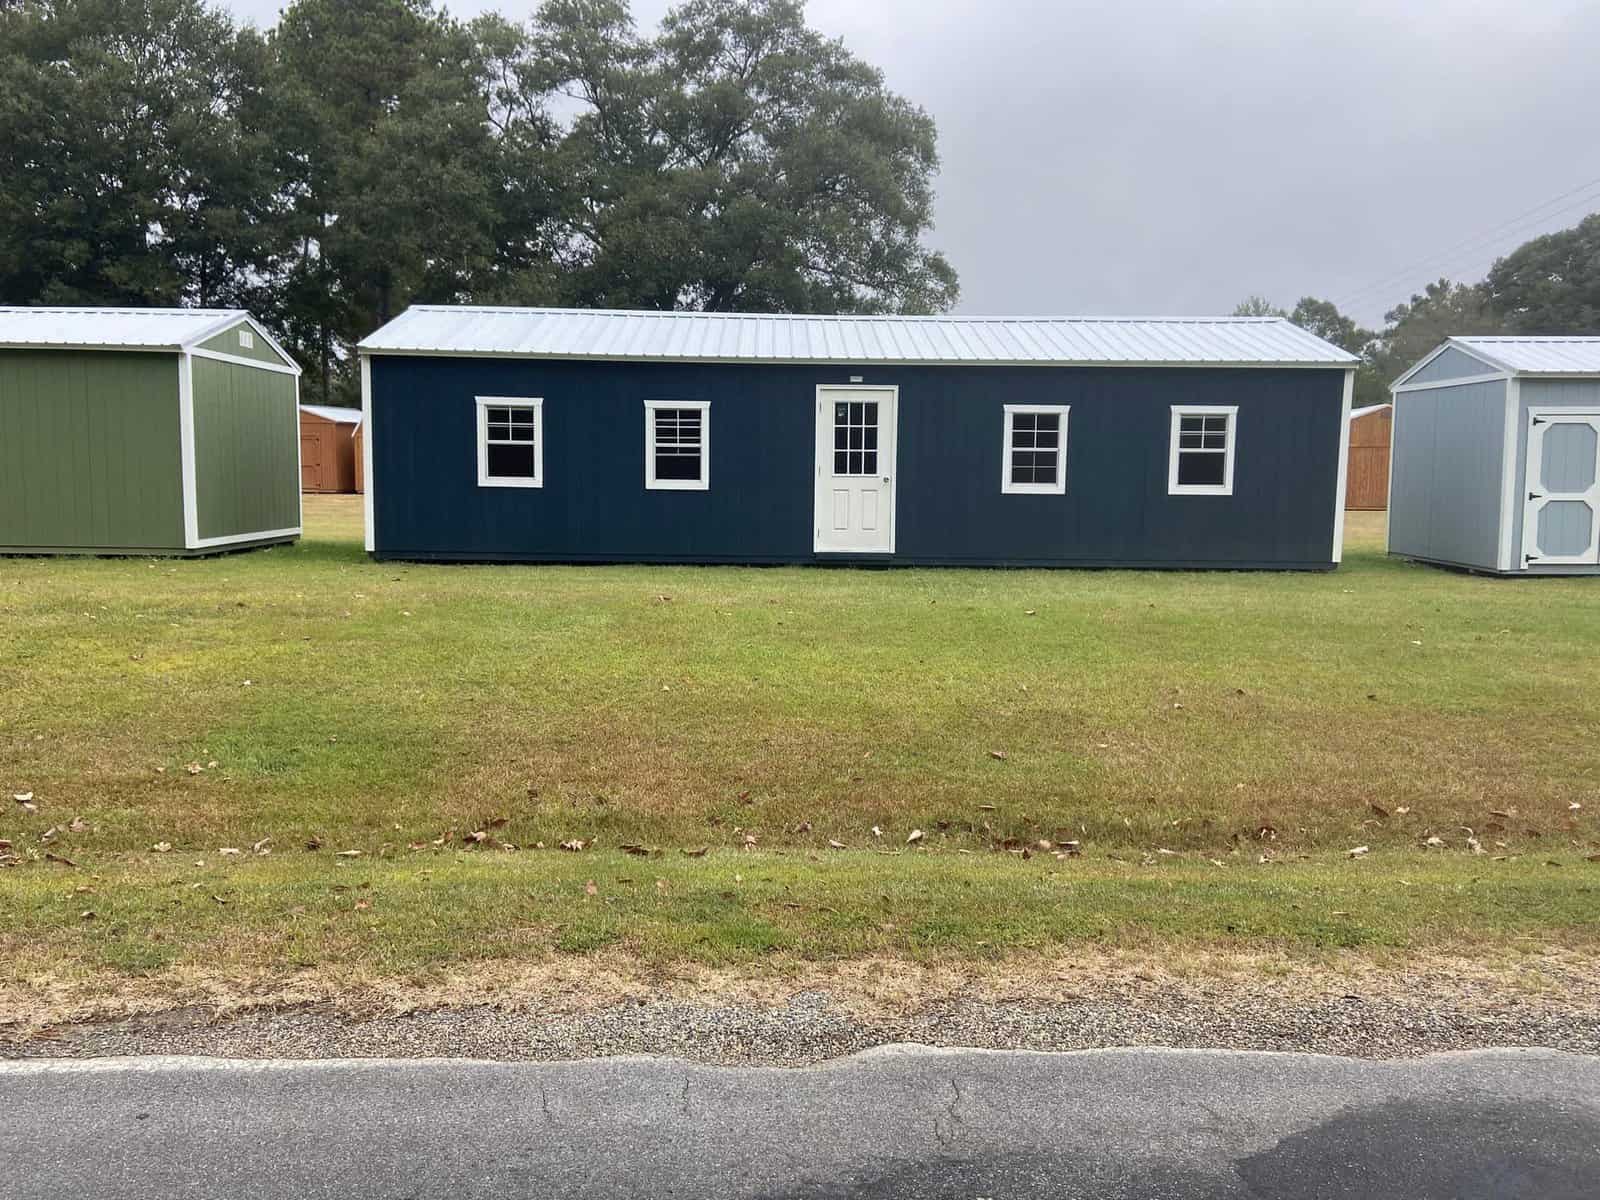
- Best for: Those willing to invest in additional modifications.
- Advantages:
✔ Strong metal frame provides durability. - Considerations:
❗ Requires insulation & drywall to regulate temperature.
❗ The metal frame may need reinforcement to support new materials.
Large, Pre-Fabricated Sheds Designed for Living
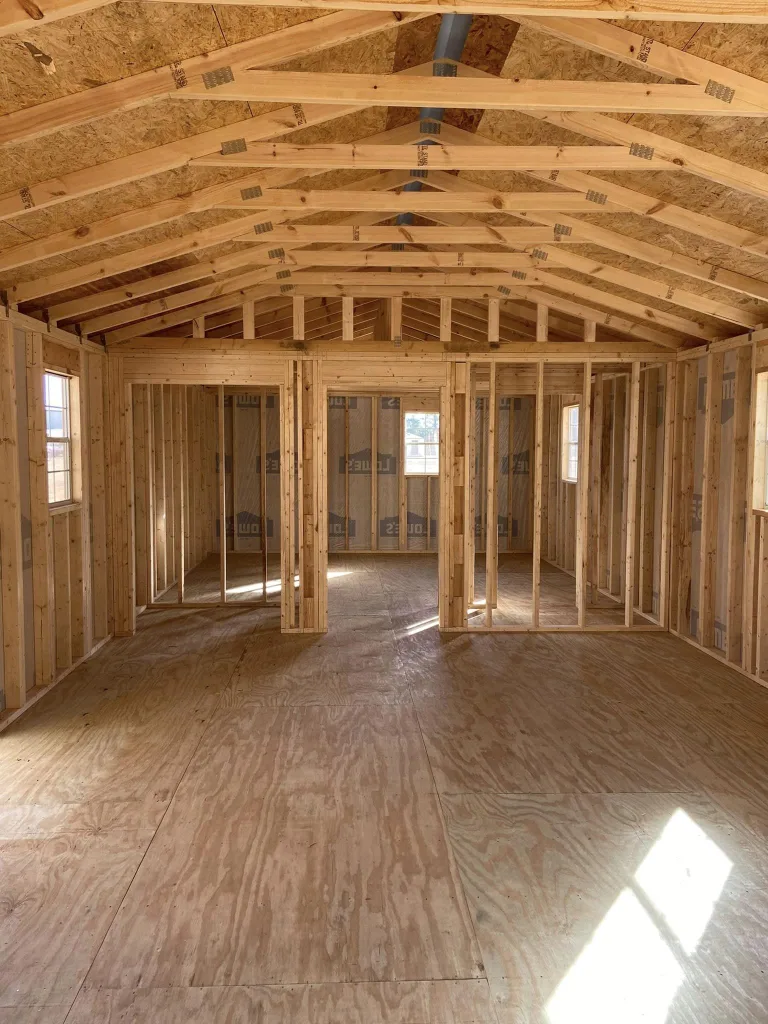
- Best for: Those looking for a pre-built solution with minimal modifications.
- Advantages:
✔ Often includes windows, doors, and basic plumbing/electrical pre-installed.
✔ Saves time and effort compared to converting a standard shed. - Considerations:
❗ Typically more expensive upfront than traditional shed conversions.
Advantages of Converting a Shed To a Tiny House Instead of Building a Tiny House
Converting a shed into a house offers numerous benefits for homeowners looking to create additional living space.
Cost Savings 💰
- More affordable than building a tiny house or buying a separate property.
- The foundation, walls, and roof are already in place, reducing major construction costs.
- Focuses primarily on interior modifications (insulation, plumbing, electrical), which are often cheaper than full-scale construction.
- Allows for repurposing materials and DIY solutions to cut expenses further.
Faster Construction Timeline ⏳
- Since the main structure already exists, shed conversions take weeks instead of months.
- Less time-intensive than building a tiny home from scratch.
Zoning & Permitting Flexibility 📜
- In some areas, shed conversions face fewer zoning restrictions than new home construction.
- If utilities are already nearby, the permitting process may be simpler than a full home build.
Portability & Minimal Disruption 🚛
- Renovating a shed causes less disturbance to your property and neighbors compared to new construction.
- If the shed is prefabricated or modular, it may be relocated before conversion.
Converting a shed into a home is a cost-effective and efficient way to create additional living space or explore alternative housing options. It offers several advantages over building a tiny house from the ground up.
Final Thoughts on Shed to House Conversion
Converting a shed into a tiny home is an innovative, budget-friendly way to embrace minimal living without sacrificing comfort.
It offers a faster, more sustainable alternative to traditional homebuilding while allowing for creativity and personalization.
There could be some bumps along the way but once you navigate them, you may be surprised how great living in a shed can be.
Frequently Asked Questions
What do I need to make my shed livable?
Insulation, electricity, plumbing, ventilation, and proper foundation are essential for comfort and safety.
How do I insulate my shed for year-round living?
Use spray foam, fiberglass, or rigid foam insulation on walls, floors, and ceilings to maintain comfort.
What’s the best way to heat and cool a shed home?
Use mini-split systems, space heaters, or wood stoves for heat. Fans, AC units, or ventilation help with cooling.
Image Source: Canva, Pexels, Pixabay, Open Verse, Unsplash

